

First I cut plain white heavy card stock to the size I want to use for the card. An 8.5" by 11" piece cut in half to 8.5"x 5.5" is what I usually use as a base. This is the card in which the person will write their message. Fold in half to create a 4.25" x 5.5" card.
For the woven part, I cut another piece of card 4" x 5.25 inches. This leaves a 1/8" margin all the way around the woven part. This card can be decorated in any way you like. I used spray inks and stencils on the top design, and spray inks, stencils and heat embossed stamped images on the second one. You can just leave it white if you like, or ... whatever makes you happy!

Once the weaving base is decorated, I use my Tim Holtz centering ruler to poke holes for the warp.

My holes are 1/4" apart. I line up the edge of the ruler with the top or bottom of the card and use a paper piercer to poke the holes. If you don't have that sort of ruler, you could just mark the spacing with a pen and punch the holes with an awl, paper piercer or large needle. Your holes need to be big enough to put your warp thread through, but not so big they will tear. If you find your cardstock is too thin, you can add a piece of heavy packing tape to the back side where your holes will go so the card doesn't tear. I don't usually have that problem because I use heavy cardstock.


Once you have your holes punched, you are ready to add warp. This is the up and down thread upon which the weaving is built. This needs to be something fairly stout. I use actual cotton warp, but you can use any type of smooth yarn that won't shred under pressure. I think you could use DMC floss, or nylon crochet thread.
Start by measuring off a piece long enough to go through all the holes and cut it. To measure, start with about a 6" tail, then pull off enough to work through from under the front (leave enough to tie it off) and go from top to bottom all the way across. You will need enough to go between the holes on the back side from side to side, and between the holes on the front side from top to bottom. Thread your warp into a needle. Start in one upper corner from the underside. Pull your warp almost all the way through, leaving about 3 inches so you can tie it off.


Hold that little tail while you go down to the back again through the corresponding hole at the bottom corner and pull it all the way through until your warp is all on the back. Move over to the next hole and come back up to the top. You will use the least amount of warp and make your card lighter if you just have the long threads on the front side, but do whatever works best for you. Once you reach that second top hole, turn the card face down and tie the loose end to the warp at the hole next to it. I just use a square knot.

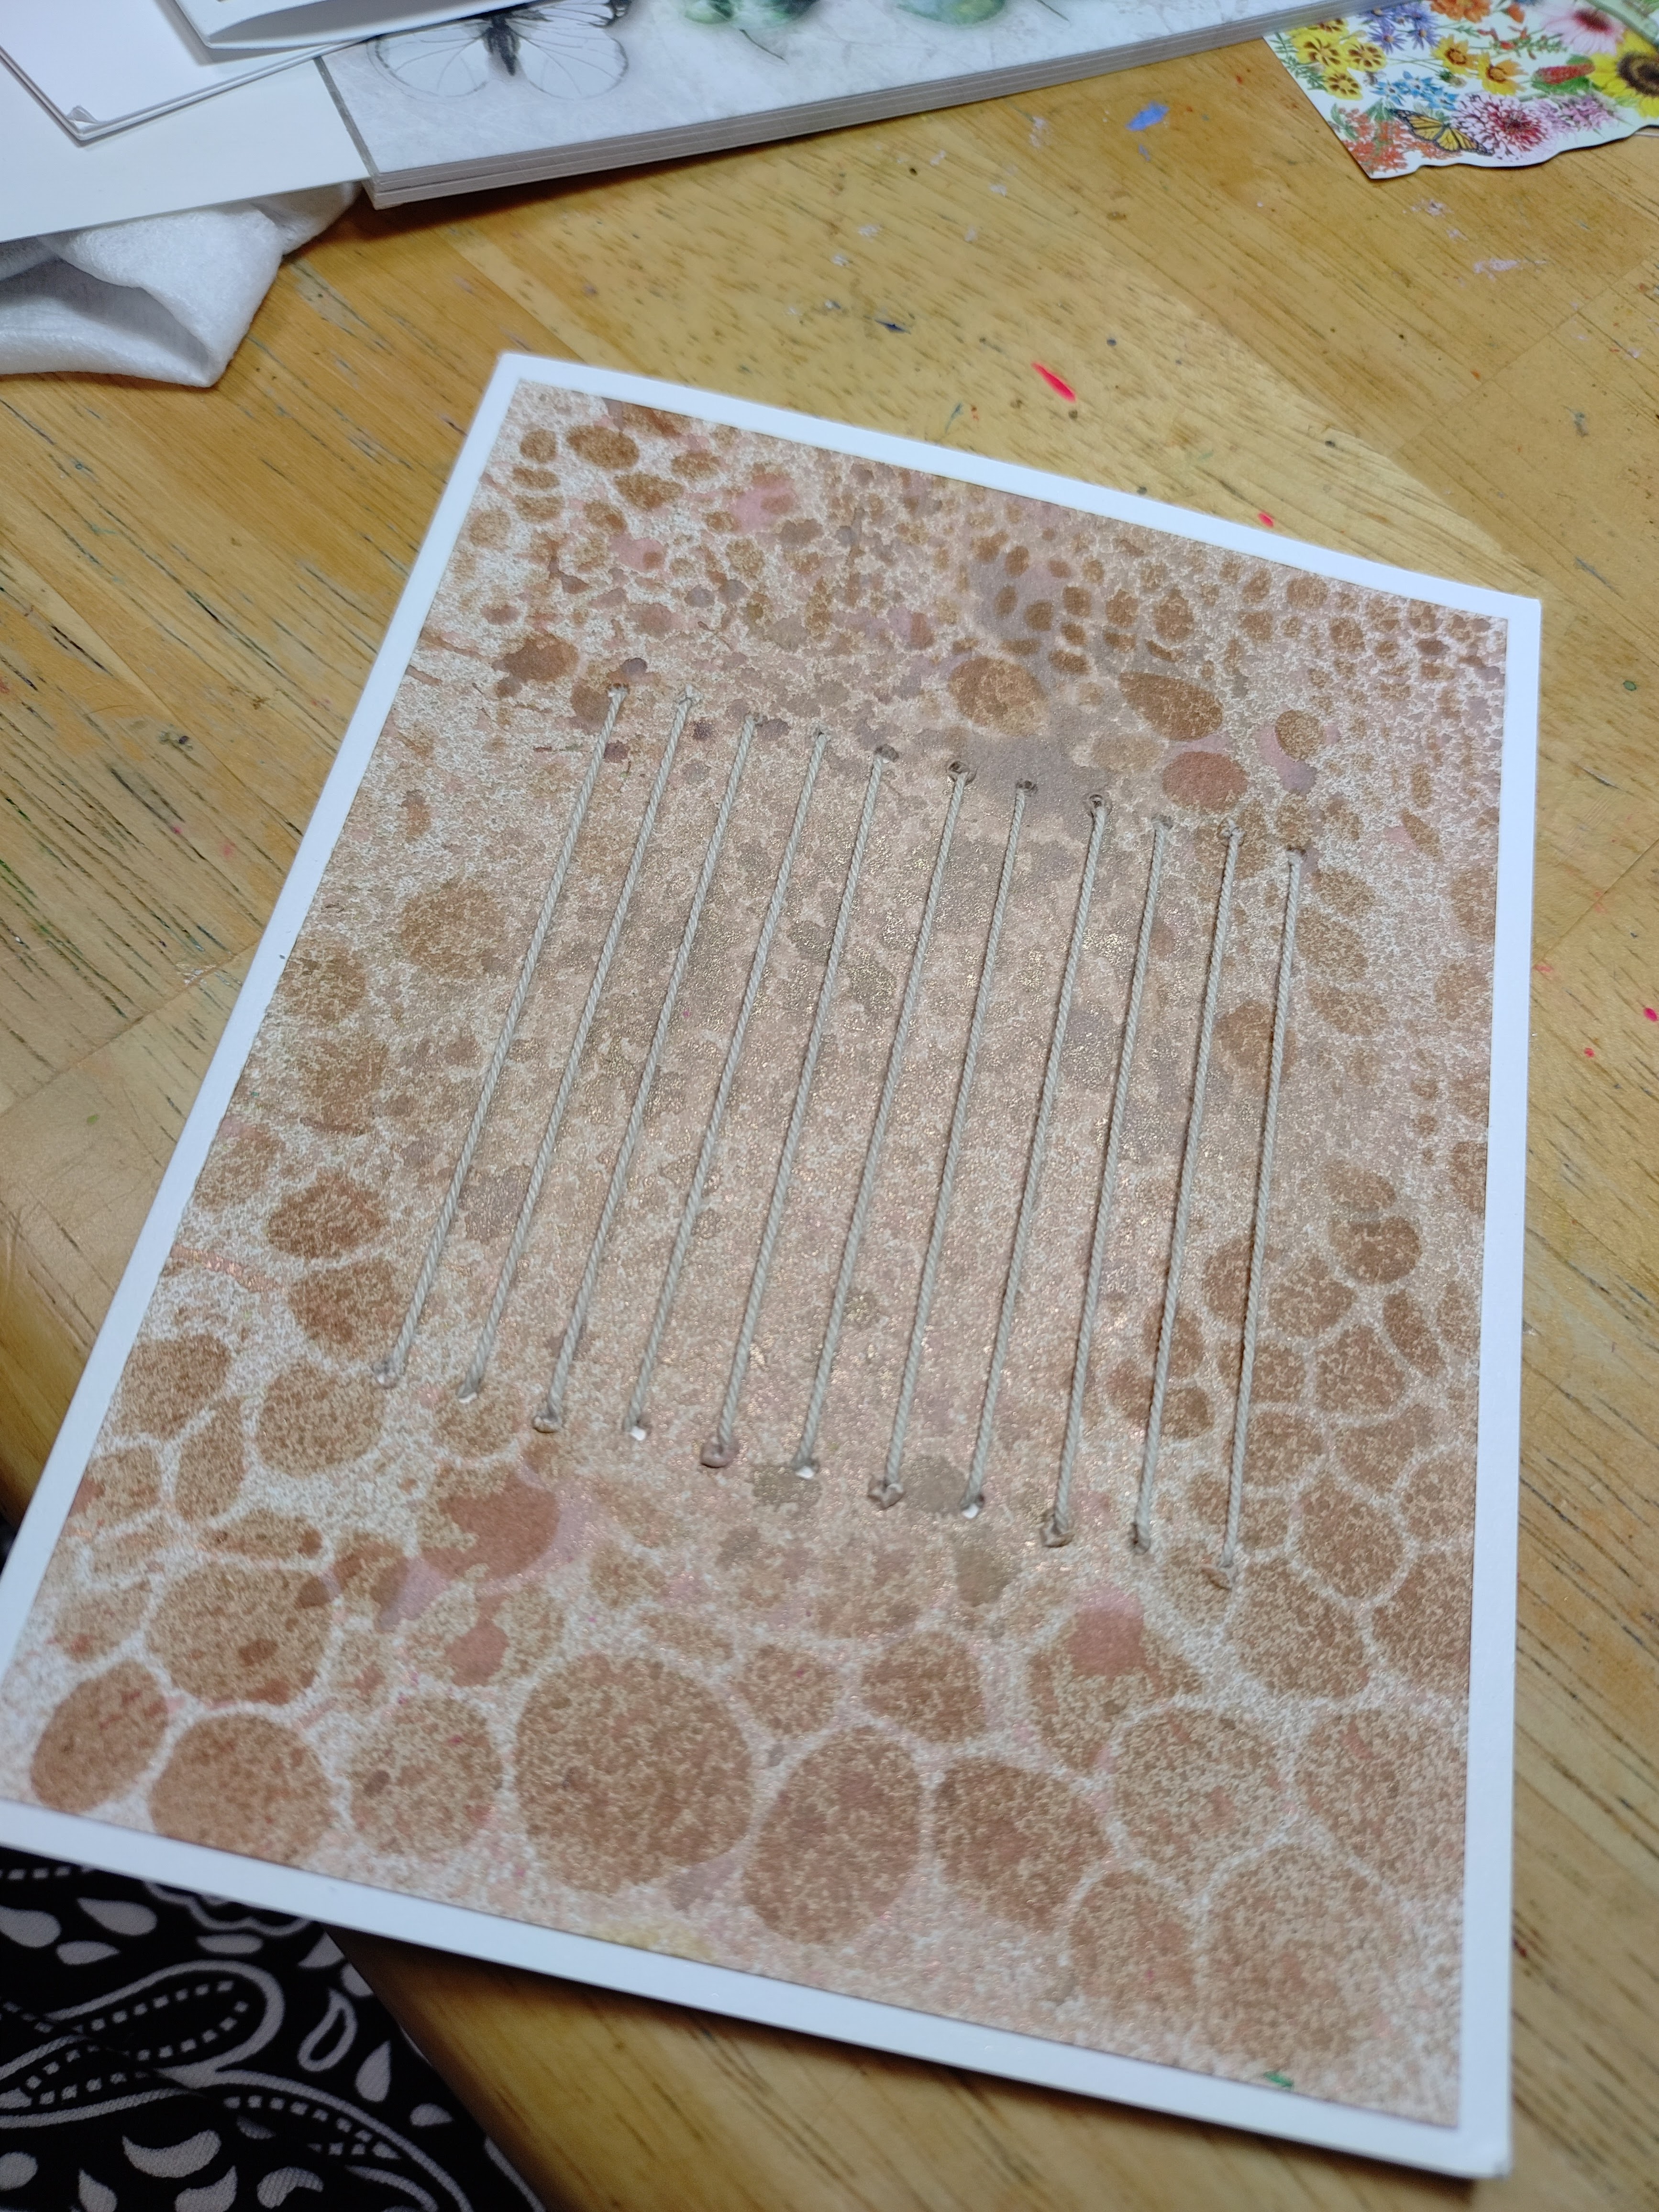
Continue going up, down, over, up, down, over, until you have something that looks like this.


Tie off the last piece of warp on the back, and trim any excess warp thread. If you find you don't have enough thread, you can either tie another piece onto the back or start it again like you did at first. You may have accidently taken the warp from top to bottom on the back, which would mean you wouldn't have enough thread. Make sure the warp threads are fairly tight and not floppy. Your weave will depend on a sturdy surface to look even.
Turn your card over face up, and glue it to the front of the note card. This gives the weaving surface extra strength. You are now ready to add your weaving! Select your fibers, ribbons, yarns, etc. to match your card front, or just use whatever makes you happy. The cards above have 8 - 10 different fibers. It depends on how many rows you create of each yarn as to how many you need. These are great for using up short ends of yarn because each row only takes about 3 inches of yarn.


Ends are tucked underneath, so leave an inch or two before you start weaving.
I use different textures as I go up from the bottom to top. Use a large eye tapestry or weaving needle to make weaving easy. Start on one side and leave a short piece to tuck under. Go over, under, over, under all the way across. Then when you reach the end, go back the other direction with the opposite weave. If the first row ended on top, go under that first warp on the second row so that your weave is opposite the first row. If you ended on the bottom, go over the first warp on the second row. Do however many rows you want, then start another piece of something different. Tuck under your ends as you go, or wait until you have the weaving all done. I find it easy to do as I go, but I know some prefer the other way.
Use a plastic fork to push down the weft as you finish each row, and be sure you don't pull too tight or your weave will not look straight along the edges. If the sides start to pull in toward the middle, you are pulling the weave too tight.

Once you have all the space filled up, your ends tucked in and all adjusted to look how you want it, you are ready to use the card!

The weaving goes pretty fast, and I have even taught my 9 year old granddaughter how to make these so they aren't as complicated as I am sure this has made them sound!